
Urbit is a cloud-based operating system (OS) that aims to create a decentralized space for content creation and socialization. Unlike a traditional OS, Urbit works by bootstrapping from an existing Linux distribution. This makes it easy to use and approachable even for novice users.
This article will guide you through the process of installing Urbit on Ubuntu. It will also highlight how to install additional Urbit applications in your Landscape interface.
Why Use Urbit?
At its core, Urbit is an attempt at building a full-stack alternative to modern web apps from first principles. This includes the applications, networking as well as the programming logic that make up the Urbit computer.
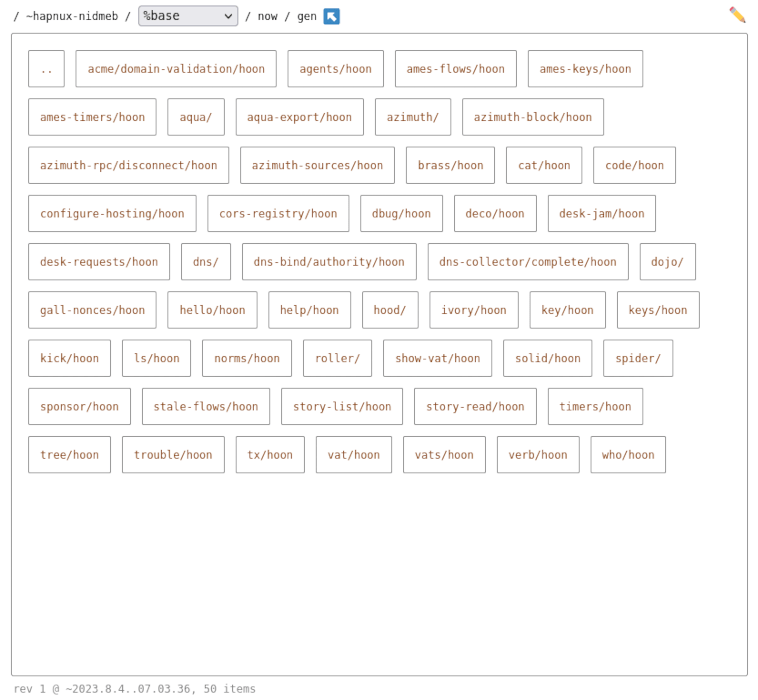
The biggest selling point of this approach is that it prevents your bare metal OS from affecting Urbit-native applications and vice versa. Urbit behaves more like a virtual machine than a regular UNIX program.
This separation also has a couple of advantages over traditional web apps. First, security issues on either OS do not cross over each other. Secondly, Urbit can maintain its state even if the OS hosting it changes.
Obtaining an Urbit ID
In order to create its decentralized network, Urbit needs to know who and where each machine is. The OS solves this issue by creating a hierarchical identity system that ties scarce and unique IDs to specific virtual machines.
The advantage of this is that it makes the network sibyl and spam-resistant by default. However, scarce and unique IDs also mean that it costs a little bit of money to obtain one.
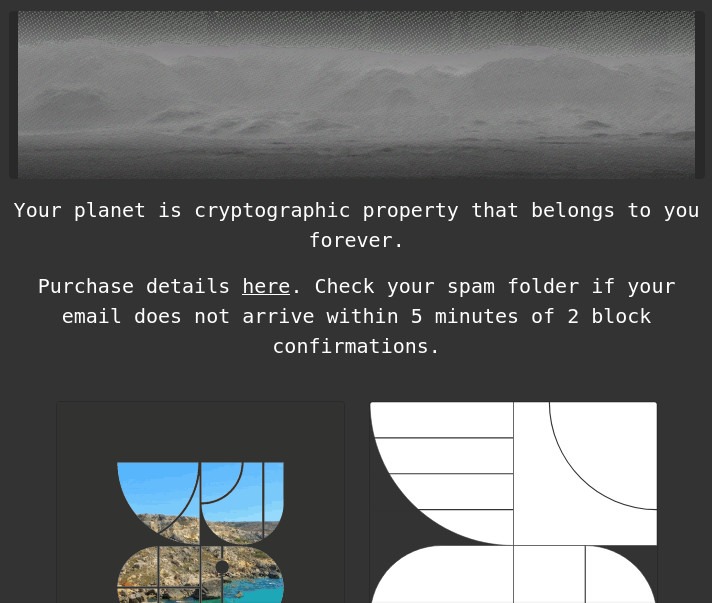
- Go to an Urbit Planet marketplace. This is a website that sells Urbit IDs for Bitcoin.
Tip: Learn how to host your own Bitcoin node by installing Dojo today.
- Scroll through the current selection of IDs, then click “Pay” on the one that you want.

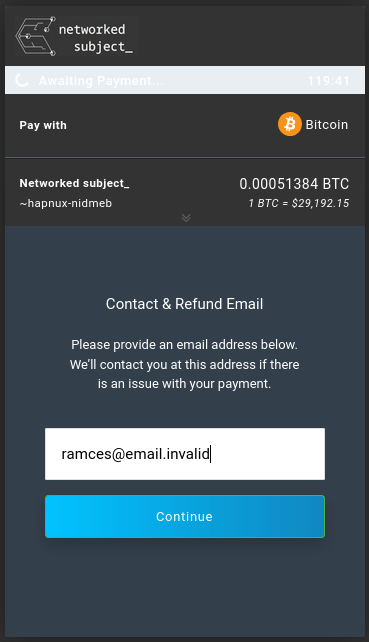
- Write your email address on the next textbox then click “Continue.”
- The webpage will display a QR code that you need to scan using your Bitcoin wallet.
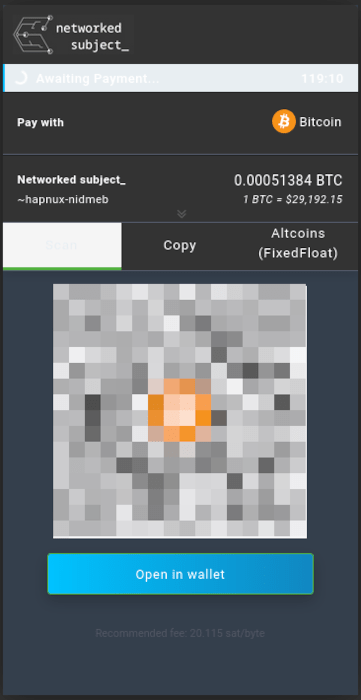
Note: You can also pay through a desktop wallet by clicking the “Open in Wallet” button under the QR code.
- Go to your email’s inbox and open the confirmation message from Networked Subject.
- Click the “Claim Code” button.
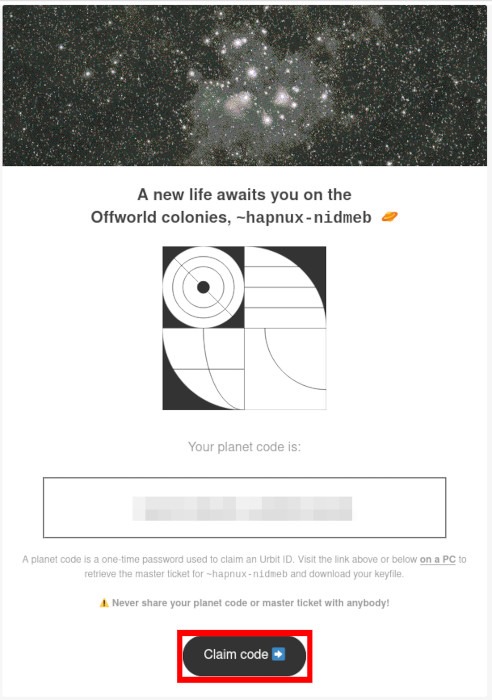
- Click “Claim”, then “Reveal.”
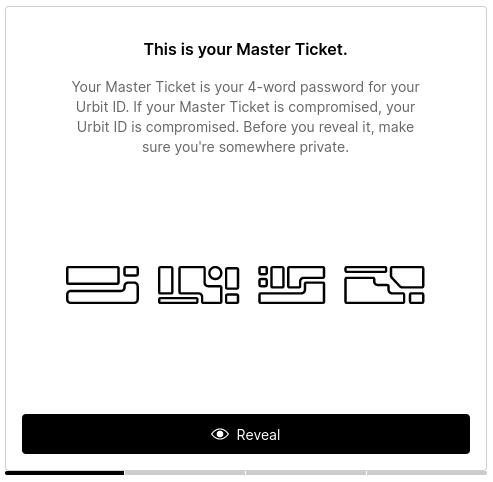
- Write the four words on the page on a piece of paper, then click “Download Backup.”
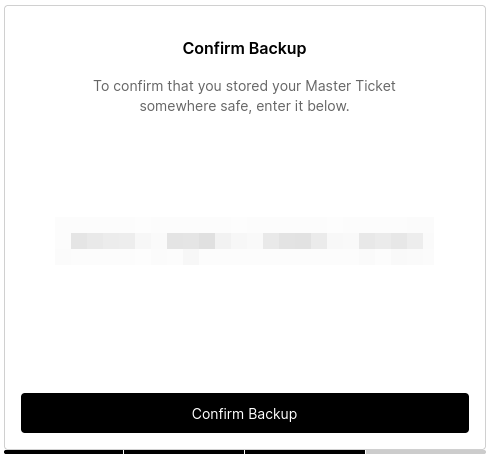
- Type the four words again to finalize the ID transfer process.
Obtaining and Installing Urbit
With that done, you can now close the webpage and continue with the Urbit installation process. To do that, you need to obtain the runtime environment and bootstrap the OS using your Master Ticket.
- Transfer the Master Ticket .zip file from your machine to your server. You can do this either by using an FTP server or the scp command line tool.
- Login back to your droplet and extract the Master Ticket on your remote home directory:
unzip ./YOUR-ID.zip
- Download and install the runtime environment on your remote home directory:
curl -L https://urbit.org/install/linux-x86_64/latest | tar xzk --transform='s/.*/urbit/g'
- Enable swap for your server:
sudo fallocate -l 2G /swap
sudo chmod 600 /swap
sudo mkswap /swap
sudo swapon /swap
sudo echo "/swap swap swap defaults 0 0" >> /etc/fstab
- Start the bootstrap process with the following command:
./urbit -w YOUR-ID -k ./YOUR-ID-passport/YOUR-ID-1.key --http-port 8080 --ames-port 34543
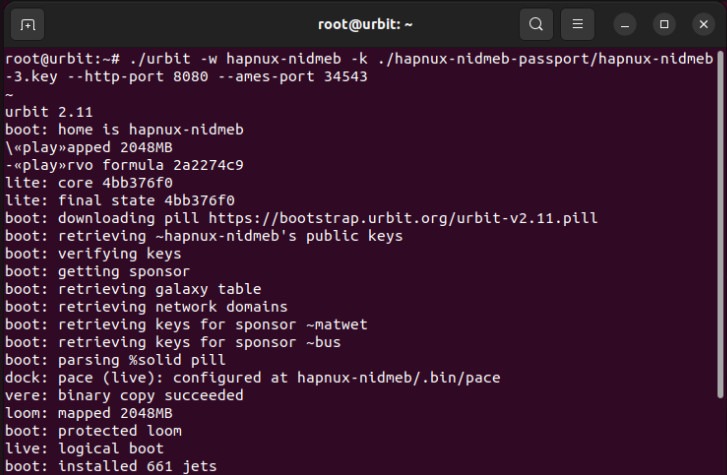
Note: You need to replace the “YOUR-ID” and “YOUR.DROPLET.TLD” variables with the appropriate Urbit ID and FQDN for your droplet.
Preparing the System for SSL
Once the Urbit virtual machine is done with its bootstrap process, it will broadcast an HTTP server on port 8080. While this is enough if you are running the VM locally, it can be insecure on a production server.
To fix this, you need to create an Nginx reverse proxy that tunnels your Urbit connection over SSL.
- Create a new site configuration file for your reverse proxy:
sudo nano /etc/nginx/sites-available/urbit
- Paste the following block of code inside your site configuration file:
server {
    listen 80;
    listen [::]:80;

    server_name             YOUR.DROPLET.TLD;

    location / {
        proxy_set_header    X-Forwarded-For $remote_addr;
        proxy_set_header    Host $http_host;
        proxy_pass          http://localhost:8080;
        proxy_buffering off;
        proxy_buffer_size 16k;
        proxy_busy_buffers_size 24k;
        proxy_buffers 64 4k;
    }
}
- Save your new site configuration file and create a symbolic link from your daemon’s “sites-available” folder to the “sites-enabled” folder:
sudo ln -s /etc/nginx/sites-available/urbit /etc/nginx/sites-enabled/
- Restart the Nginx daemon:
sudo systemctl reload nginxInstalling and Enabling SSL
- Ensure that your Snap installation is up to date and compatible with classic packages:
sudo snap install core
sudo snap refresh core
- Install the certbot Snap package:
sudo snap install certbot --classic
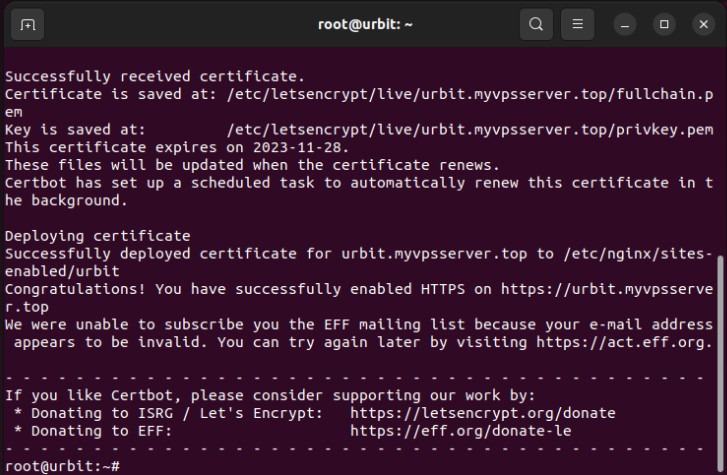
- Generate a new SSL certificate for your reverse proxy by running the following command:
sudo certbot --nginx -d YOUR.DROPLET.TLD
FYI: Learn how encryption over the internet works by issuing your own SSL certificate using OpenSSL.
Logging In and Using Urbit
- Open your web browser and navigate to Urbit’s installation domain URL.
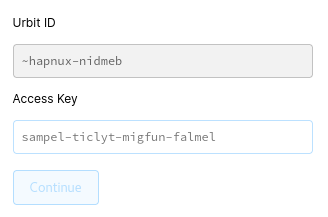
- Doing that will load a plain login page where the Urbit will ask for the machine’s access key. You can find that by going back to your Urbit terminal then running the following command:
+code
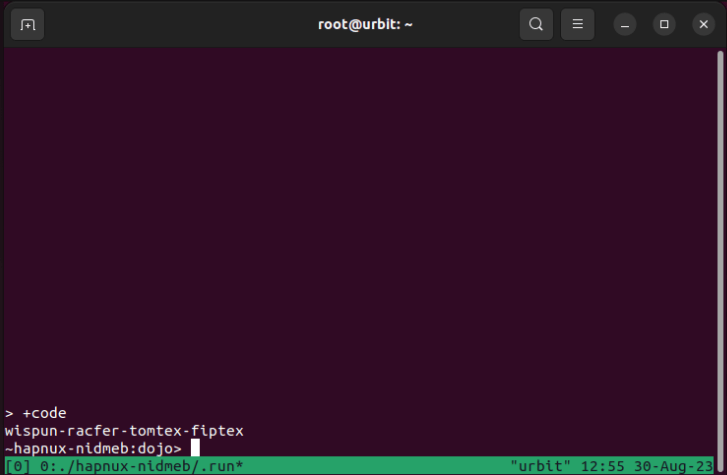
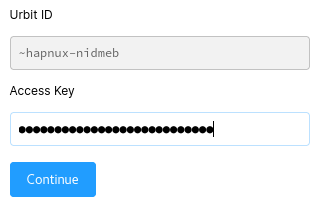
- Copy and paste the instance’s code to your Urbit’s login page then click “Continue.”
Installing Urbit Apps
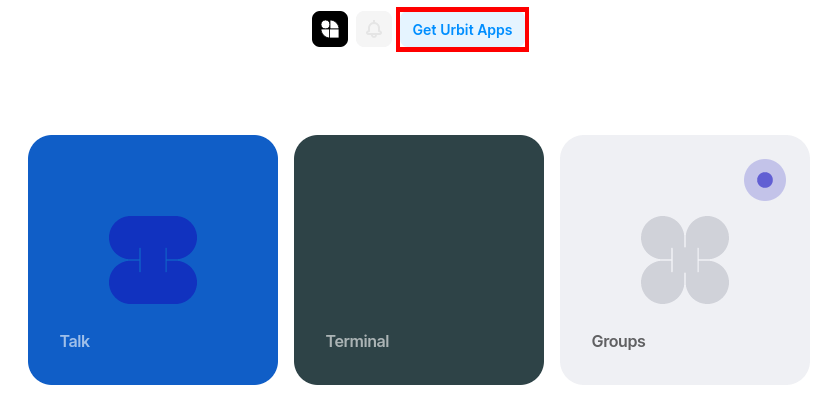
While Urbit comes with three basic applications right out of the box, it also provides a handy list of basic utilities that you can download and install alongside them.
- To install your first program, click the “Get Urbit Apps” button.
- This will bring up a list of applications for your Urbit machine. Scroll through the list and look for any application that you would like to install.
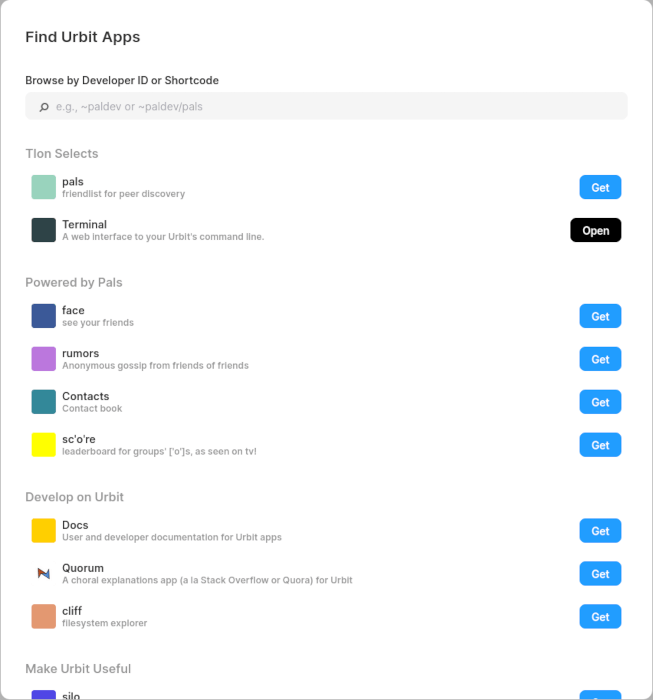
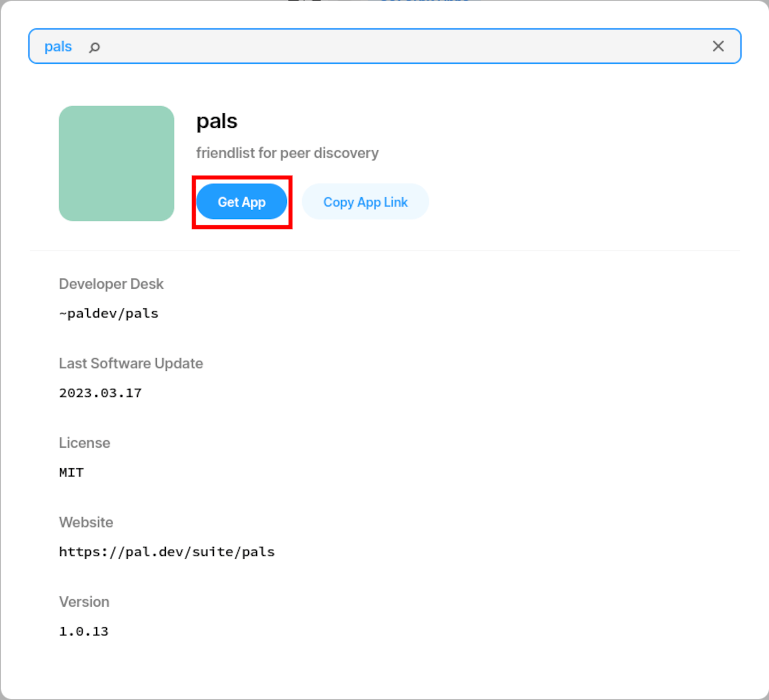
- Click the “Get” button on the app’s right corner to open the app’s details page.

- Click “Get App” to install it to your Urbit machine.
Good to know: Learn more about operating systems and how they work by installing Parabola Linux.
Frequently Asked Questions
Can I run a Linux program under Urbit?
No. It is not possible to install and run a native Linux program under Urbit. This is because the Urbit OS does not share a common ABI and API with a traditional Linux system.
Is it possible to get an Urbit ID for free?
Yes. Every Urbit runtime environment comes with the ability to generate a “comet-level” identity. These are temporary IDs that you can use to test the operating system. To use a comet, you can run ./urbit -c comet instead of ./urbit -w YOUR-ID -k YOUR-ID-1.key --http-port 8080 --ames-port 34543.
However, the downside of doing this is that comets are often blocked by other users due to their potential for abuse. Further, the Urbit core developers are also considering the possibility of removing this feature in the future.
Is it possible to share a machine with other people?
No. An Urbit machine is a single-user system that is intrinsically linked to your Urbit ID. This means that, unlike a Linux system, it is not possible to create a “multi-user” instance of Urbit for a single bootstrapped installation.
Image credit: Markus Spiske via Unsplash (Background) and Wikimedia Commons (Logo). All alterations and screenshots by Ramces Red.
Our latest tutorials delivered straight to your inbox