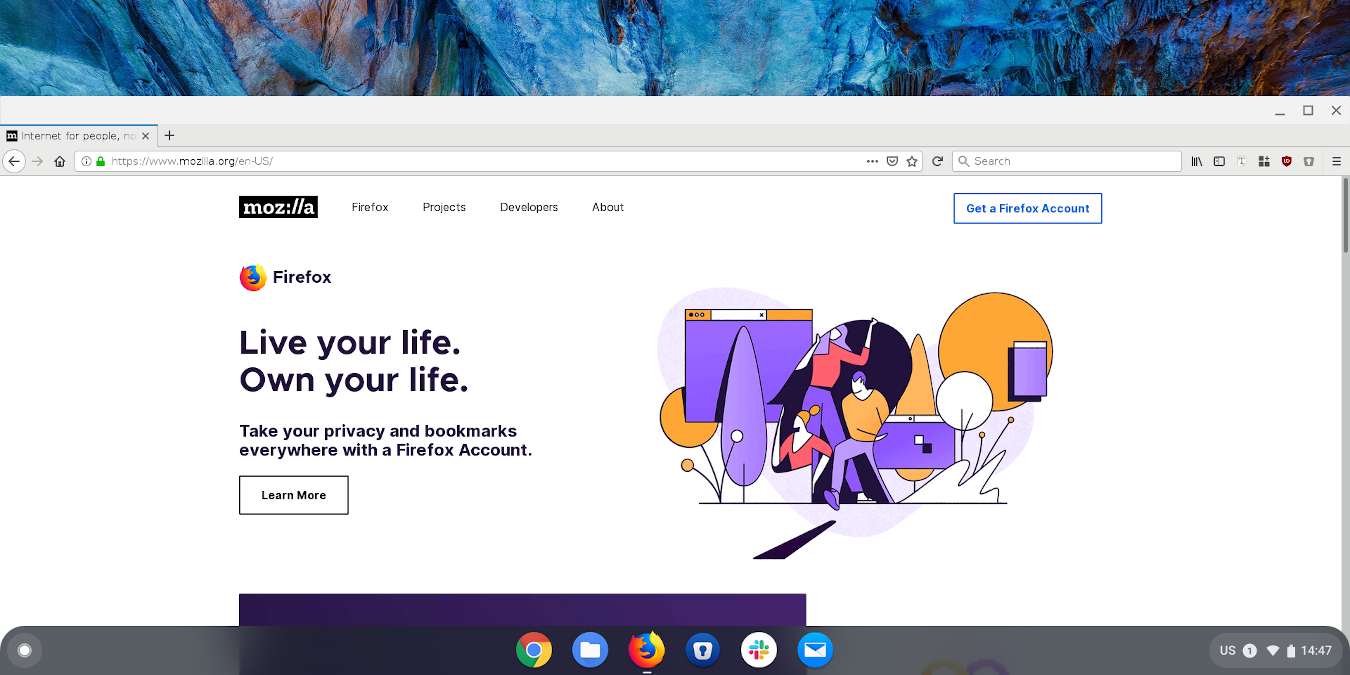
Chromebook runs Chrome OS, which is essentially the Google Chrome browser. When you power on your Chromebook, the Chrome browser will launch automatically so you can surf the Web immediately. What if you are not a fan of Google Chrome? Or perhaps you are paranoid about the data Google is collecting behind your back when you are using its browser. Luckily, there are several ways you can install Firefox on Chromebook. Here is how you can do so.
Also read: What Is a Chromebook, and How Does It Differ from a Laptop?
Install Firefox Android app
Most of the newer Chromebook comes with support for Android apps, which means you can easily install Firefox from the Play Store.
1. Open up Play Store on your Chromebook.
2. Do a search for Firefox.
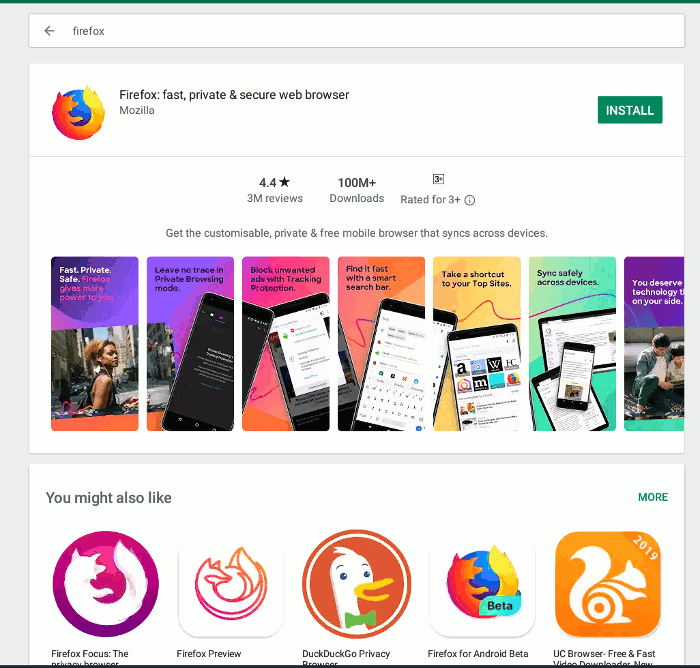
There are several Firefox browsers that you can choose from, namely the standard Firefox, Firefox Focus and Firefox Preview. Firefox Focus is a minimal privacy browser that blocks a wide range of online trackers. Firefox Preview is an experimental browser by Mozilla. If you are looking for a browser with the most features, installing the standard Firefox browser is your best bet.
3. After the installation, you will be able the use the Android version of the Firefox browser.
Firefox for Android supports extensions, too, though the choices are pretty limited. Since it is a mobile browser at its core, you won’t get a good desktop user experience.
Install Firefox as Linux app
If your Chromebook supports Linux apps, then you can install the Linux version of desktop Firefox.
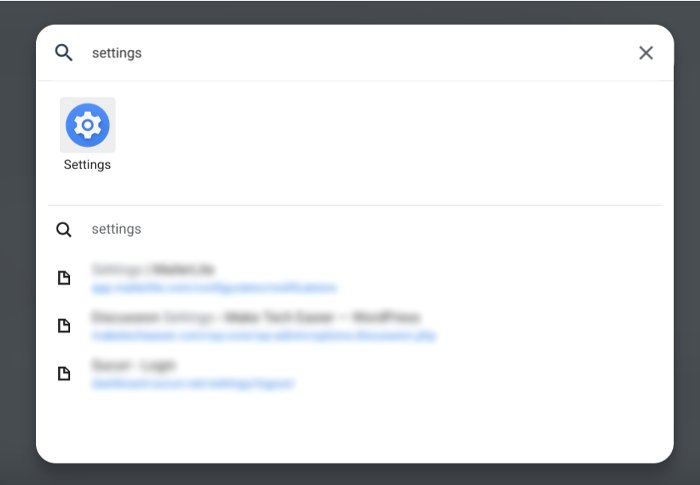
To check if your Chromebook supports the Linux app, open the menu drawer and open Settings.
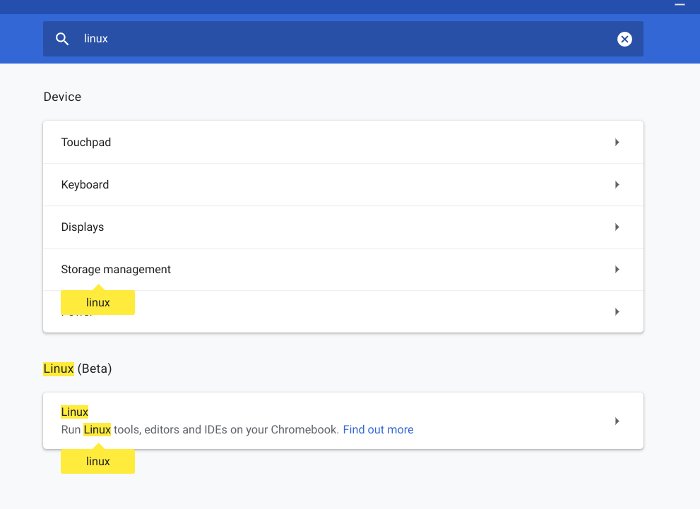
In the Settings, search for “linux.”
If you see the “Linux (beta)” option, then your Chromebook can install the Linux app. Click on it to enable it (if you have not done so).
Install Firefox ESR
The underlying Linux container is running Debian, and only Firefox ESR is available in its repository. Open the terminal in the menu drawer. Type the following command to install Firefox-ESR.
sudo apt install firefox-esr
Once the installation is completed, you should see a Firefox icon in the dock. You can start to use Firefox in Chromebook.
Firefox-ESR stands for Firefox Extended Support Release, which is a long-term support release. It is a stable release meant for enterprise use. Releases will be maintained for more than a year, with point releases containing security updates coinciding with regular Firefox releases. New features in the regular Firefox releases will only be made available in the ESR at the next major release, after the end of the current release’s cycle.
Also read: How to Tighten Up Your Privacy on a Chromebook
Install the standard Firefox
If you want to use the regular Firefox release instead of Firefox ESR, here is one simple way to install it in Chromebook.
1. First install Firefox-ESR. This will install the dependency files required by Firefox.
sudo apt install firefox-esr
2. Next, remove Firefox-ESR without removing its dependencies:
sudo apt remove firefox-esr
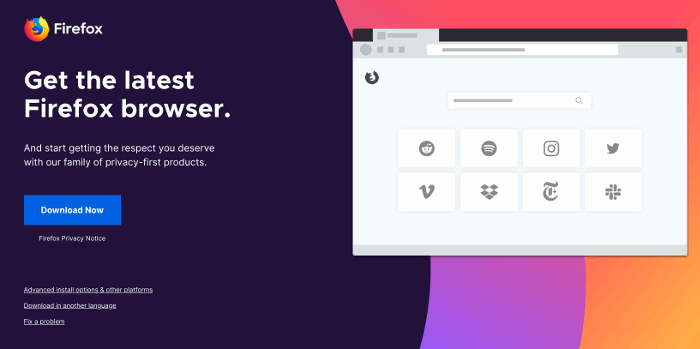
3. Go to the Mozilla website and download Firefox to your Linux home folder. (Your Linux Home folder is the “Linux files” directory in the Files app.)
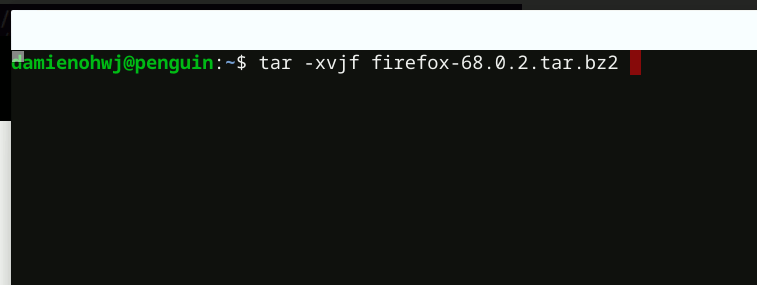
4. Extract the tar file to your Home folder with the following command in the Terminal. (Change the Firefox filename in the command below.)
tar -xvjf firefox-68.0.2.tar.bz
You should now see a Firefox folder.
5. Lastly, we are going to create a Firefox desktop icon. In the terminal, type the following:
sudo nano /usr/share/applications/firefox.desktop
In the editor, paste the following:
[Desktop Entry]
Name=Firefox
Comment=Browse the World Wide Web
GenericName=Web Browser
X-GNOME-FullName=Firefox Web Browser
Exec=/home/USERNAME/firefox/firefox %u
Terminal=false
X-MultipleArgs=false
Type=Application
Icon=firefox-esr
Categories=Network;WebBrowser;
MimeType=text/html;text/xml;application/xhtml+xml;application/xml;application/vnd.mozilla.xul+xml;application/rss+xml;application/rdf+xml;image/gif;image/jpeg;image/png;x-scheme-handler/http;x-scheme-handler/https;
StartupWMClass=Firefox-esr
StartupNotify=true
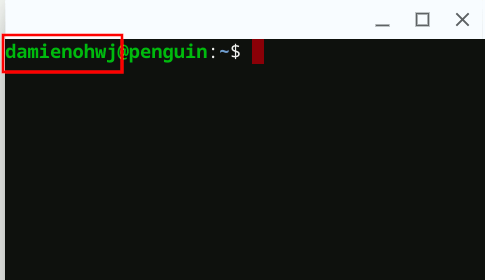
Change “USERNAME” to your username in the Linux terminal. Your username is the name in the terminal before “@penguin.” In my case my username is “damienohwj.”
Save (Ctrl + o) and exit (Ctrl + x) the nano editor.
6. You should now see a Firefox icon in the menu drawer. (If not, restart your Chromebook.) Click on it and the Firefox browser will launch. It will also auto-update itself in the future.
Conclusion
While the Chrome browser is the default browser in Chromebook, that doesn’t mean you have to be stuck with it. With support for Android and Linux apps, you now have options to install the browser of your choice, including Firefox. If you like Opera or Vivaldi, you can install those as well.
Our latest tutorials delivered straight to your inbox