When you think of Chromebook, what do you think of? Lightweight operating system? Fast boot times? Simple browser-based interface? I know what I immediately think of when I think of a Chromebook, and it’s one word: LINUX!
Why Linux?
Why Linux, you ask, as your Chromebook already does everything you want it to? If that’s the case, great! But if you are reading this article still, I can assume that you want your Chromebook to do more. Although you may not see it as a possibility, it’s developing the possibility of using Linux. It’s all beginning to change.
Google’s intentions are to make features available to software being developed via this platform. By enabling the Linux (Beta) platform, otherwise known as Crostini, Chromebook users will now be able to install command line tools, code editors and IDE’s.
Also read: 18 Best Games to Play on Your Chromebook at School
Managing Chromebook Settings
The Chromebook is a very simplistic device, in which managing your device’s settings is very important. In order to do this, which is very similar to the management of an Android device, you have multiple options.
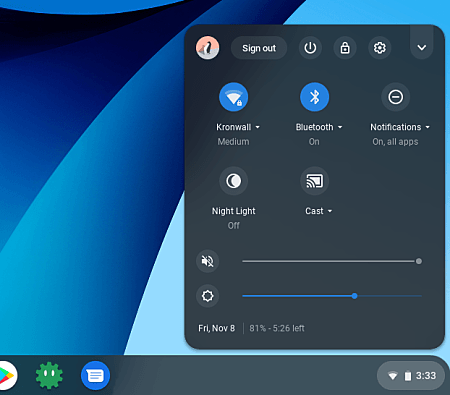
First, you can either click the Clock, located in the bottom right of the taskbar,
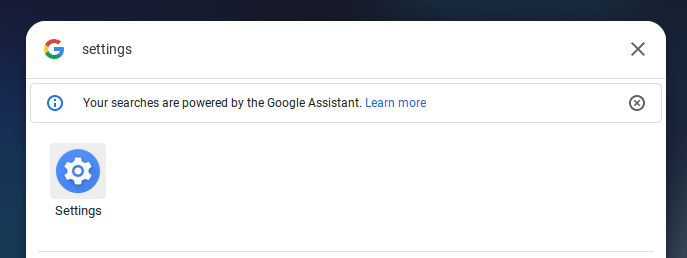
or you can click the Google search icon in the lower left of the taskbar, then search for settings.
Also read: 9 Tips to Use and Customize Chromebook Shelf
Prerequisites for Linux (Beta)
Before attempting to install Linux (Beta) on your Chromebook, you will want to make sure your Chrome OS is up to date. Also, depending on the chipset, some of the older Chromebooks don’t have support for Crostini.
To update Chrome OS:
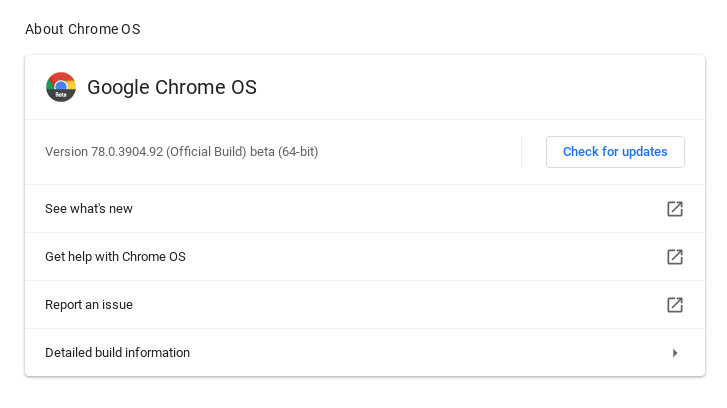
1. Go To Settings.
2. Select “About Chrome OS.”
3. Click “Check for Updates.”
Installing Linux (Beta) Mode
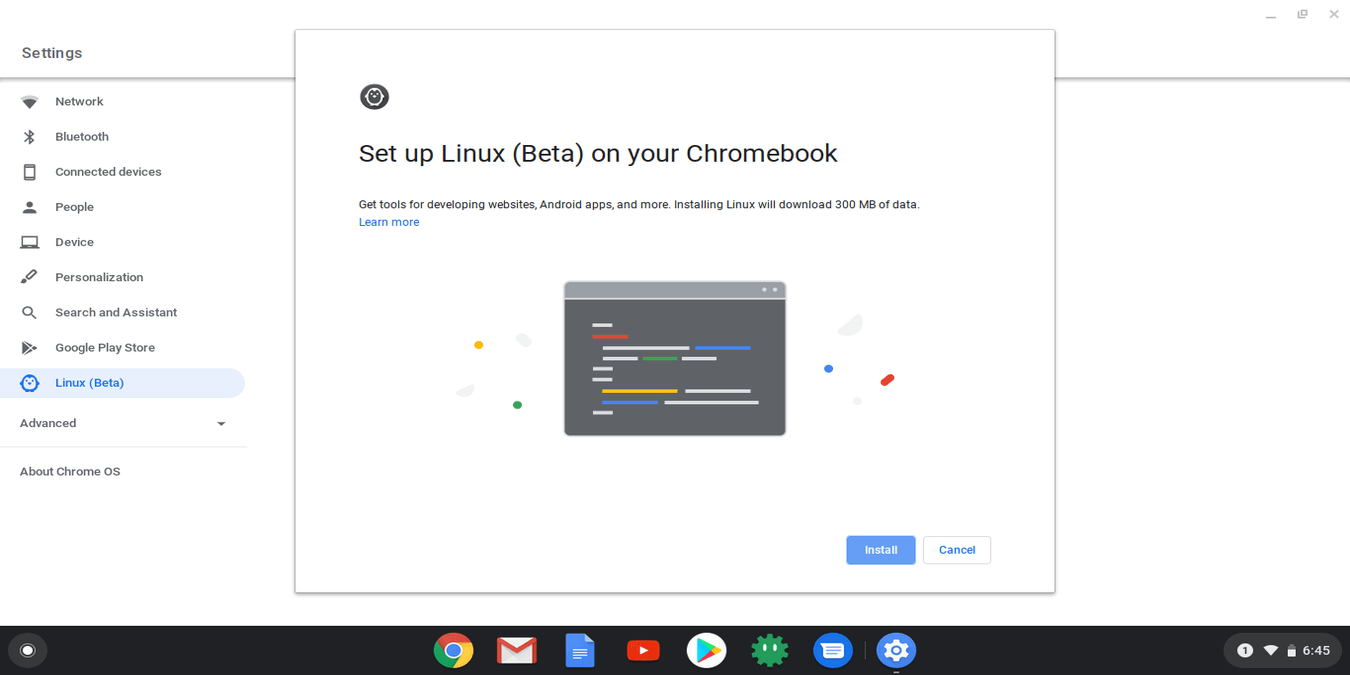
To enable Linux (Beta) mode on the Google Chromebook, it is rather easy. As stated above, every major adjustment to the Chromebook starts in the Settings window. Navigate to Settings and then select “Linux (Beta).”

From there, select “Turn On.” This will launch the installation.
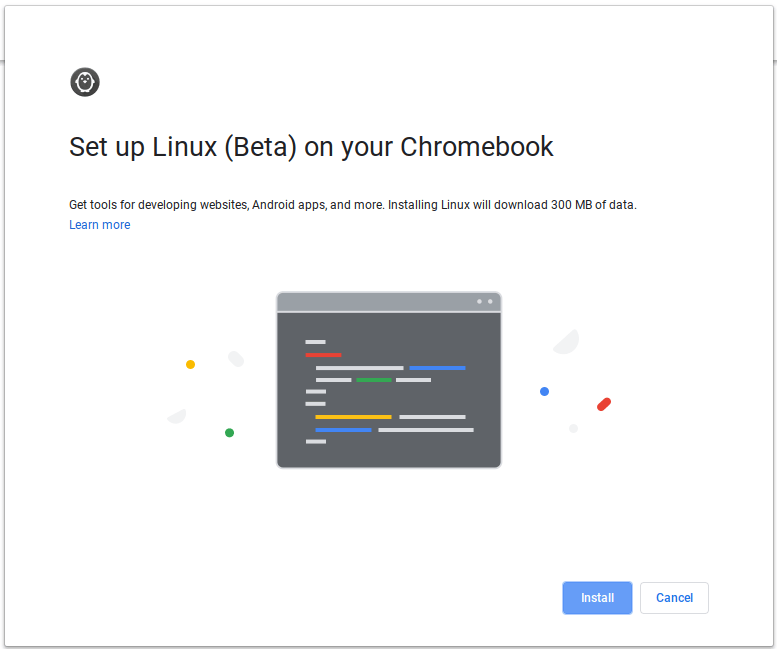
Click Install.
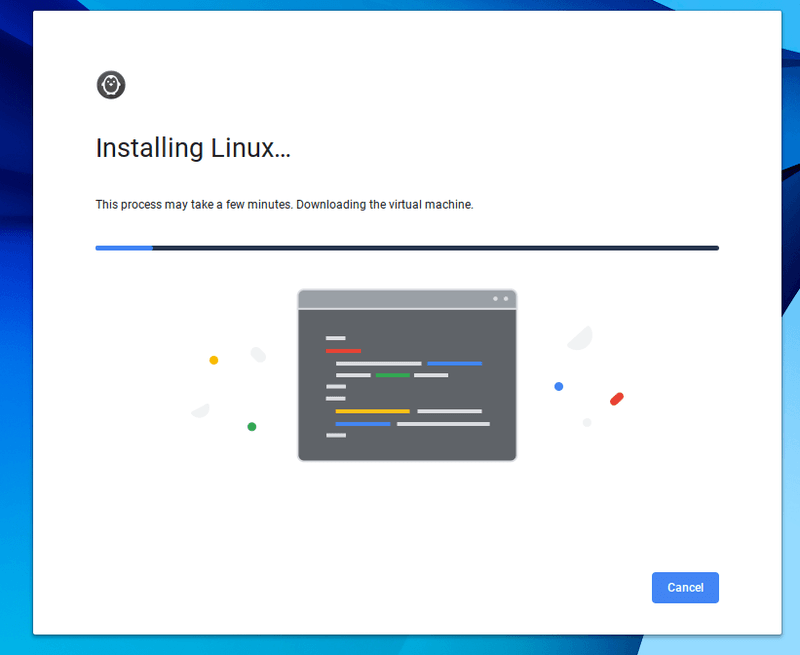
Now sit back and wait, as this may take up to 10 minutes, depending on the computing resources of your Chromebook model. When the installation is complete, you will see a terminal window that will pop up.
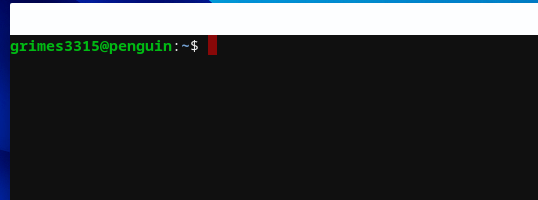
Once you have access to the terminal window, as you should with any new Linux install, initiate your first set of update commands. To update your Linux instance:
You will notice that unlike Linux on desktop, you don’t have to type in your password when using the sudo command.
Also, you can start to install Linux applications, like LibreOffice, with the following command:
sudo apt install libreoffice
The default distro used is Crostini, but you can easily switch it to Ubuntu, if you prefer to have a more updated application repository.
Moving forward, there will be more and more functions that your Chromebook will be able to accomplish with Linux. The possibilities are truly endless, from productivity applications to cyber security related tools.
Our latest tutorials delivered straight to your inbox